How to get a driving licence in Thailand
This guide assumes you already have a driving license and/or motorcycle license in your home country.
If you’re driving a car or riding a motorcycle in Thailand you need the correct license to avoid on the spot fines but more importantly, be covered by insurance. Unfortunately, your license from back home doesn’t cut it.
If you’re just on holiday for up to 2 months, the easiest way to fix this is to apply for an IDP (International Driving Permit). It’s a small document that accompanies your original license. In the UK, this is obtained from the Post Office for £5.50 and expires after one year.
If you’re planning to stay in Thailand for a longer amount of time, you may want to consider getting a Thai license.
First things first…
Can I get a Thai driving license on a Tourist Visa?
The answer is yes. Regardless of what you read in forums, you can, and it is allowed. I did it when I was a tourist, and I asked in person at the Department of Land Transport. The official answer I was given is that anyone staying longer than 30 days can apply. This means if you’re entering on Visa Exemption, you cannot apply.
That said, it will be slightly more difficult because of one document – the ‘Affirmation of Residency’, sometimes called a Residence Certificate. In Bangkok, you’ll find it difficult to obtain this through the immigration office, whilst in Pattaya it’s far easier – more on that later.
Documents
Before you head down to your local Department of Land Transportation, you need to gather the correct set of documents.
If you are applying for both a motorcycle and a car license, you need 2 sets of documents.
Here’s what you need to take with you:
- Original passport
- Original driving license (if it’s not in English, it will need to be officially translated.
- Photocopy of the photo page, visa page, your last entry stamp, TM6 departure card (small slip you filled out on arrival). That’s 4 things from your passport.
- Photocopy of your driving license
- Filled out application form
- Original ‘Affirmation of Residence’ certificate (alternatively, a Work Permit can be used). You can use just one original for both licenses, just photocopy the original. But you do need the original!
- Health certificate from a clinic or hospital.
- Application form (download)
You need to sign the passport copies and the driving license copies, nothing else.
That’s all of the documentation you need. From that list, the only thing that can be frustrating is the Affirmation of Residence.
There is usually a place to do photocopies at the Land Transportation offices. There definitely is at Chatuchak. It’s 2 baht per copy just as you enter Building 4 on the right.
Find your Department of Land Transportation
There’s several, as this website has listed, however for this guide, I visited the office in Mo Chit / Chatuchak – the process should be the same though.The office I used is very close to BTS Mo Chit / MRT Chatuchak, just a couple of minutes walk away.
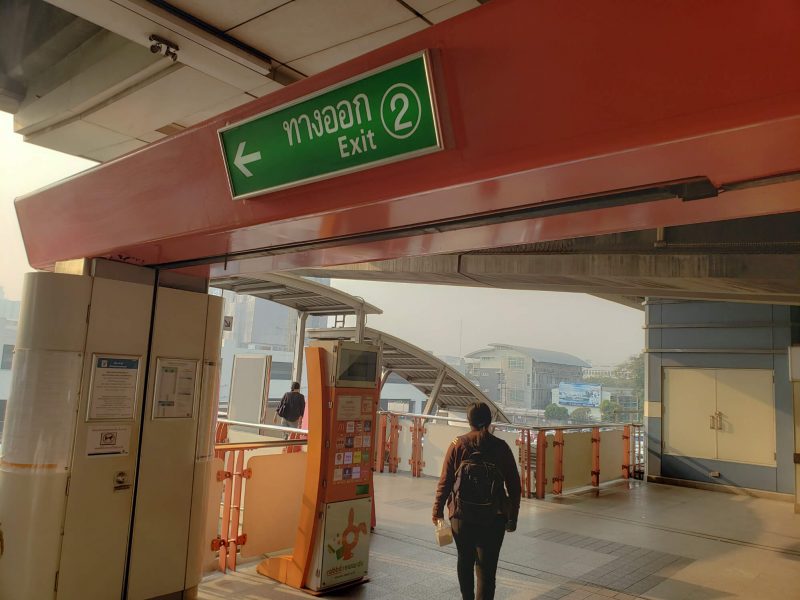
Take Exit 2 from the BTS or Exit 4 from the MRT and walk straight until you arrive at the complex on the left. It’s a big place… bigger than I expected. You are looking for Building 4, signposted อาคาร๔ (aa-kaan sèe<).
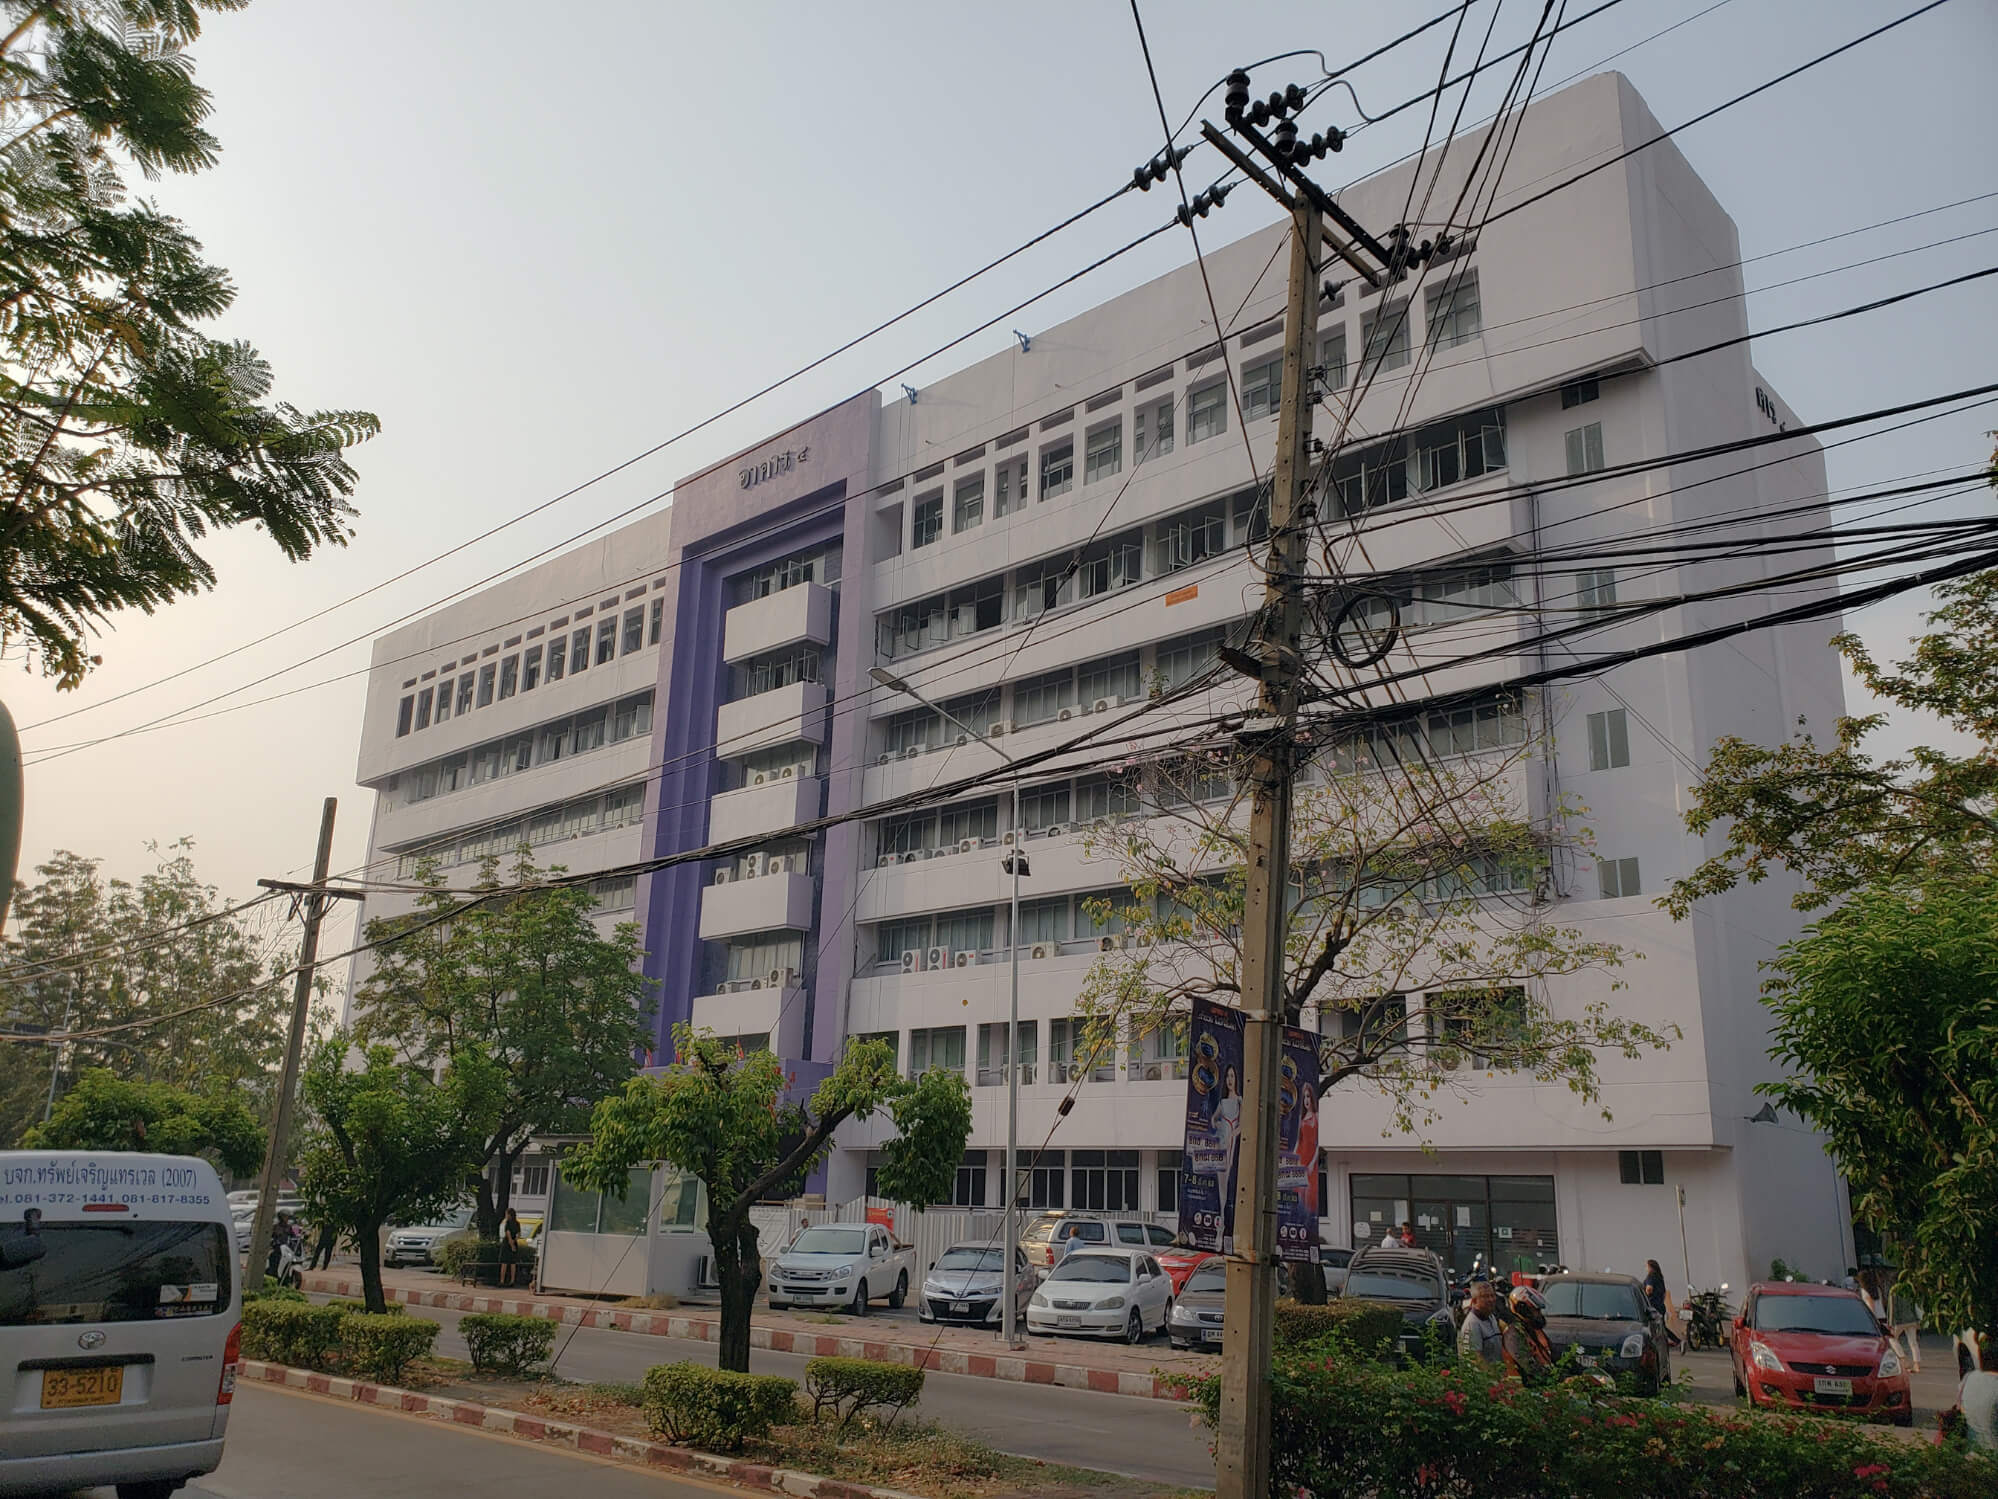
Building 4
This is the exact location:
My advice is to arrive at 8 or 8:30am. I arrived at 8:30am on a Wednesday and had both of my licences by 12:15pm.
Important: Wear trousers, shoes and a tshirt or shirt!
Don’t do as I did and wear shorts (it was a very hot day) because they will not let you in to the area which you need to take your physical exam. If you did make this mistake, you can buy some Thai size trousers and squeeze in to them at Building 2 for ~200 baht. I did look quite silly for the rest of the day.
After you arrive
I’m going to assume you’re applying in Chatuchak – but it should be similar for other offices.
If you need to do any photocopies, get this done now.
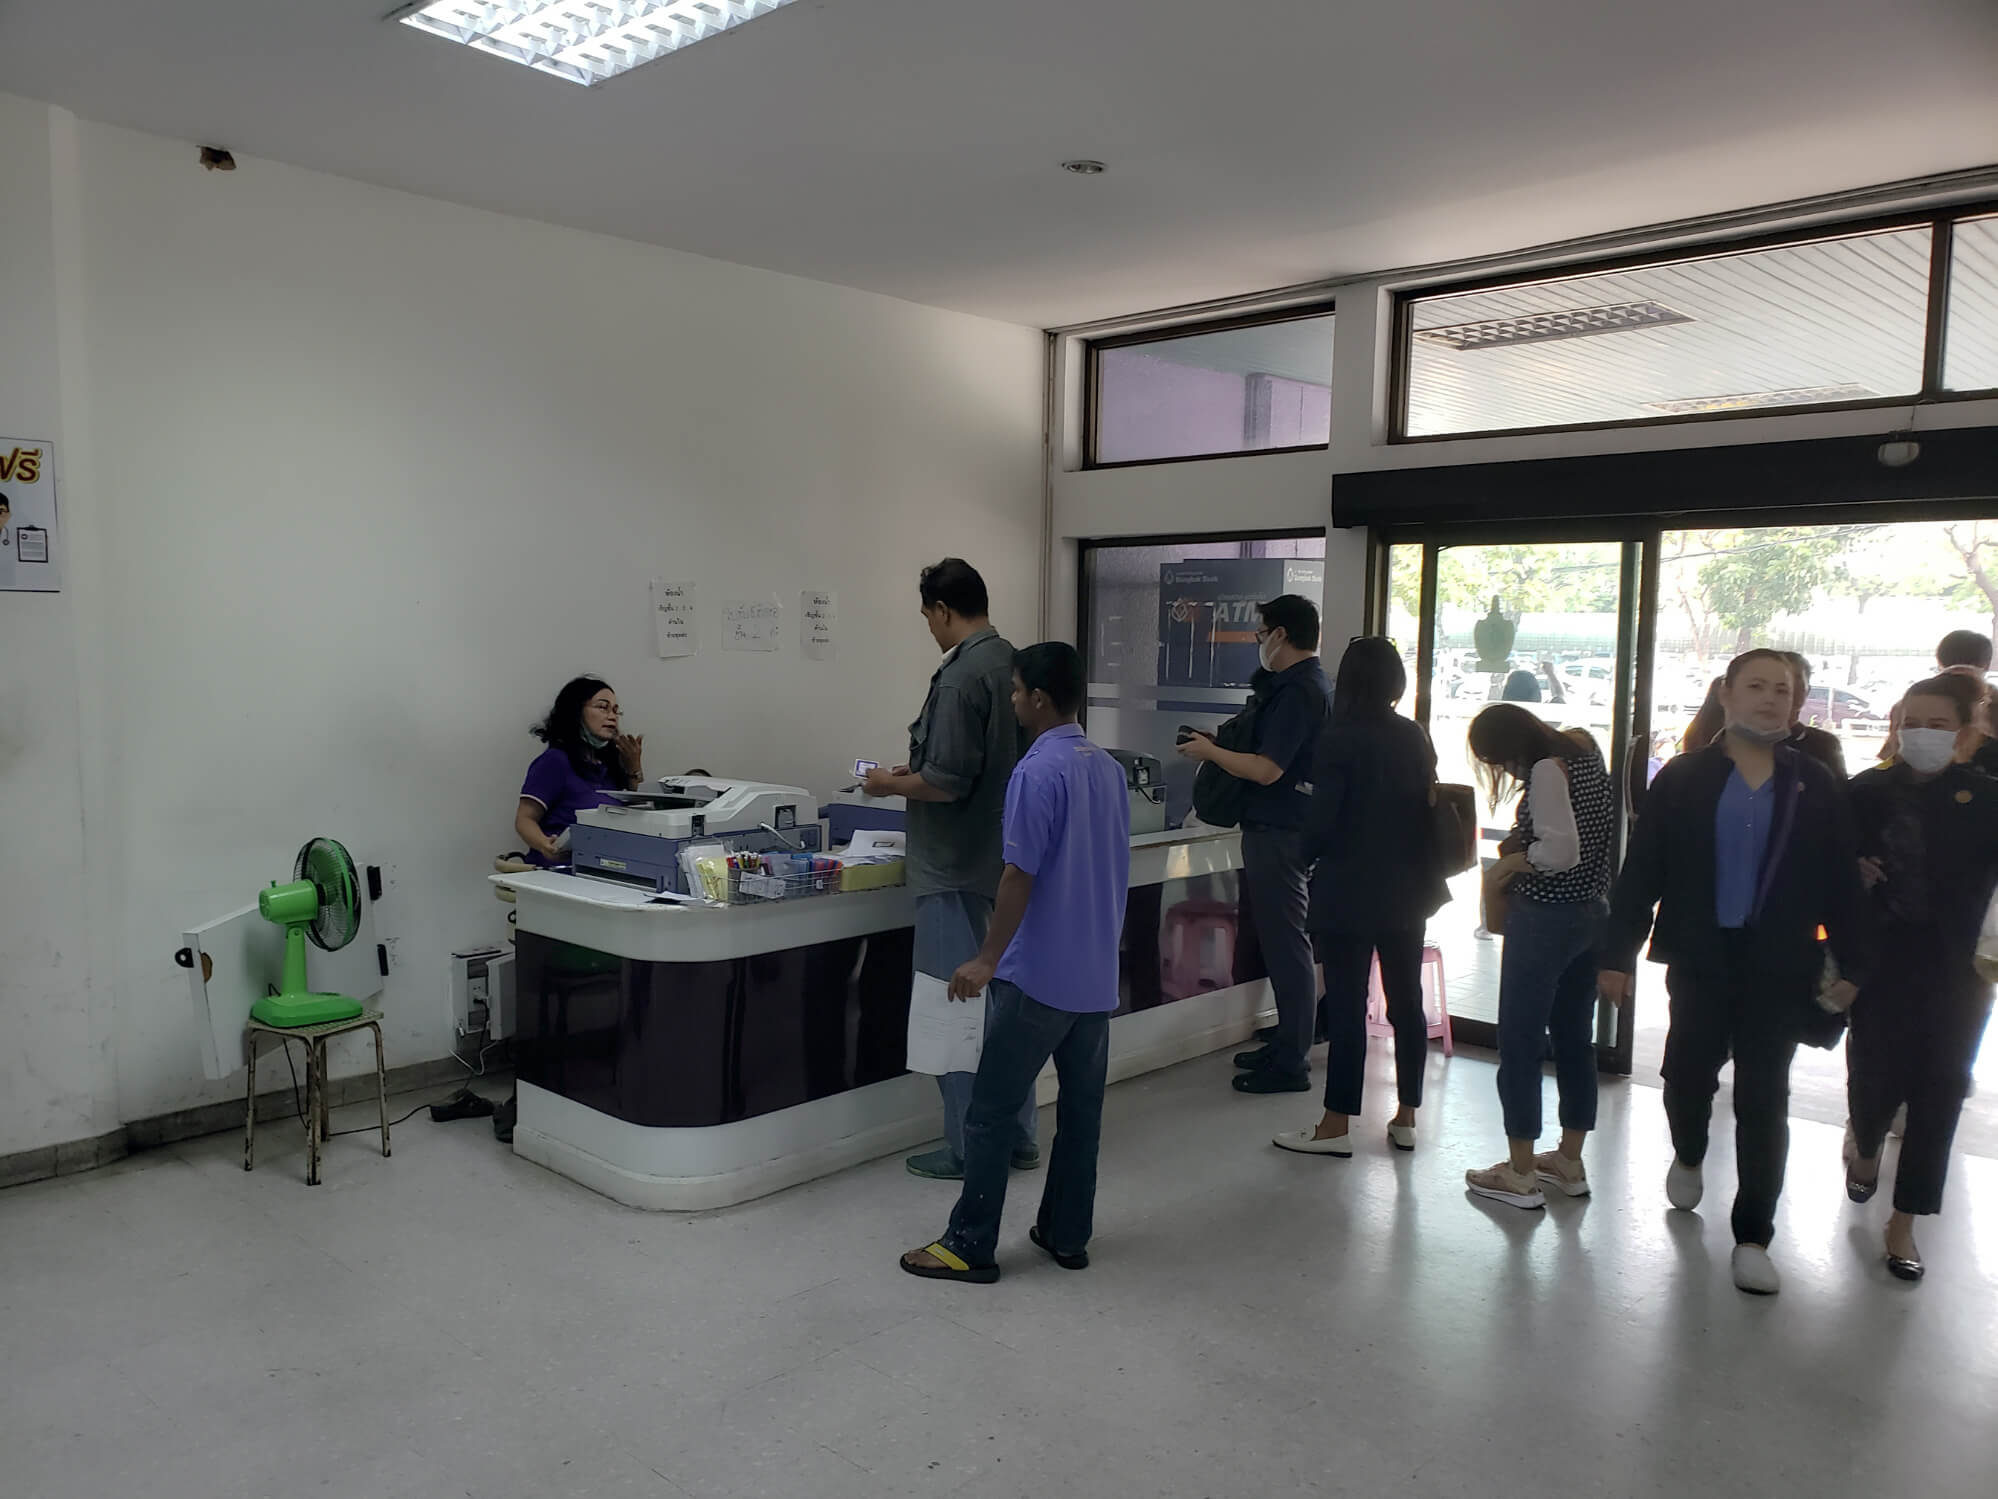
Photocopy service just inside the entrance
You need to get a Head to Floor 2 – you should see a few queues as in the picture below. Get in any queue – they’ll check your documents and give you a queue number. After you have your queue number, sit down near a screen and keep a look out for your number. When it’s called you’ll be seen and someone will sit and confirm your address, do some paperwork and hand it back to you.
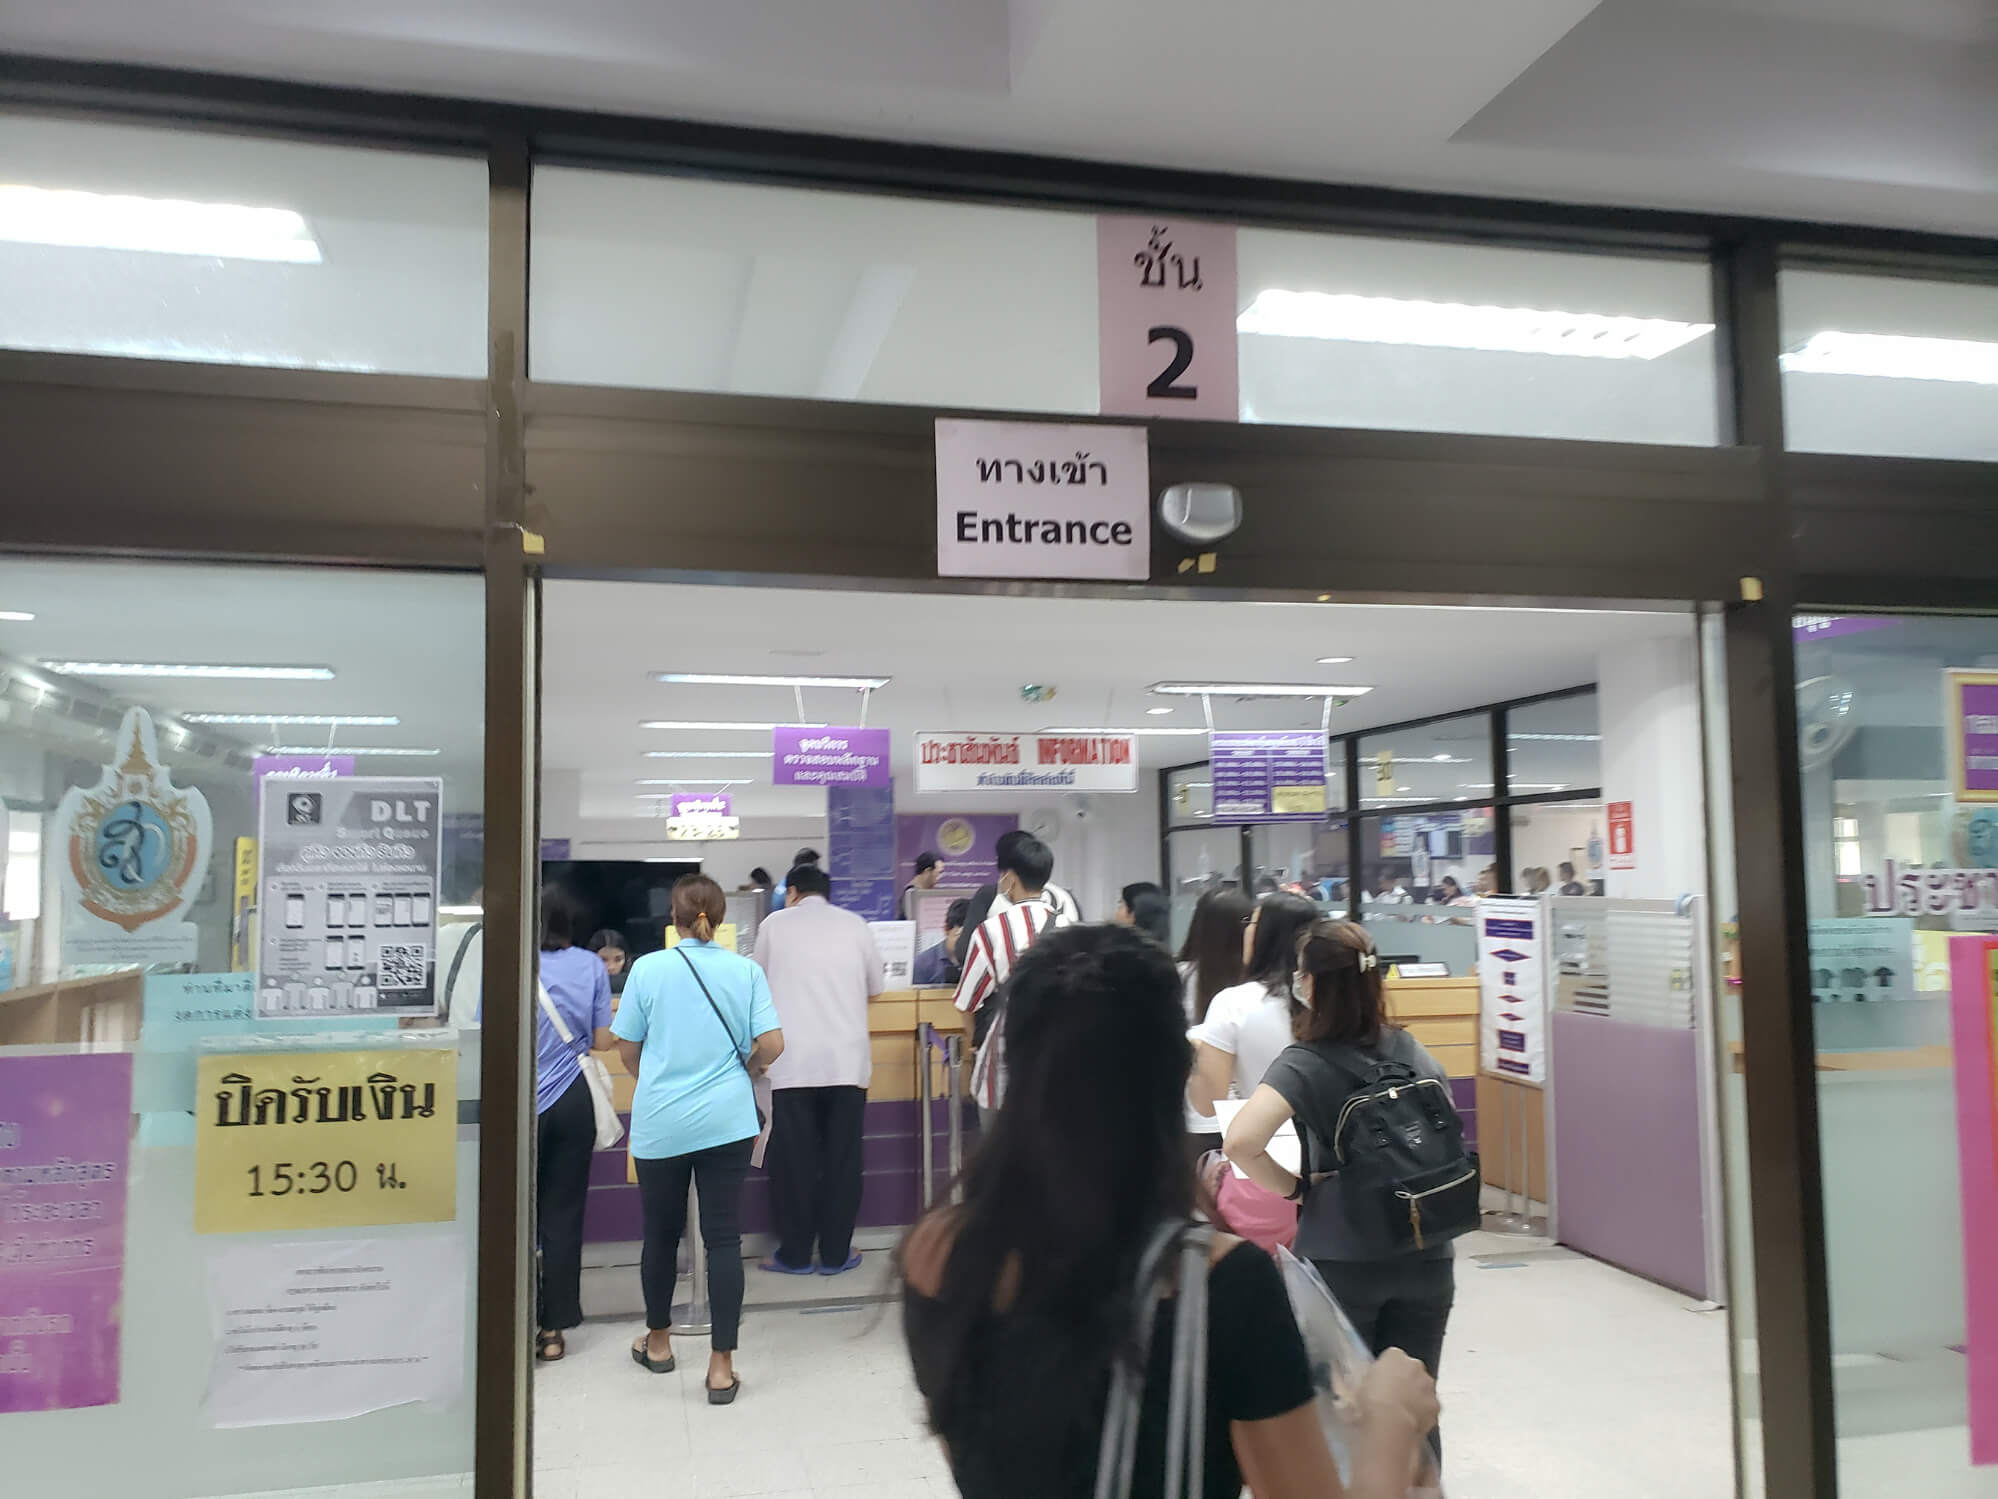
2nd floor entrance to get queue number
Now it’s time to go upstairs and do your physical exam – it’s very easy.
Physical exam & theory
After you go to Floor 3, approach the desk at the front (this is where you’ll get caught out for wearing shorts). He or she will check your passport and tell you to go sit down and watch the TV.
The TV has a video on repeat telling you how to do the physical exam. You’ll sit here until the next group of people are called in. The numbers are called in Thai, so just hand around awkwardly and ask if it’s your turn to go in.
A group of about 20 is shuffled into a room (no photos allowed unfortunately). This room is quite funny, it’s like an obstacle course with a line painted on the floor. Everyone takes turns to do 4 different little tests.
First, there’s a lady with a traffic light with red green and orange – you have to shout the colors that are showing as she changes them – then within seconds you’re whisked away to test 2.
Test 2 is a perception test. You sit down and have to press a button to line up two sticks within an inch of each other.
Test 3 is a reaction test. You’ll sit in a chair with your foot on an accelerator and when the light turns red you have 0.75 seconds to get your foot on to the brake – I’d be surprised if someone manages to fail this.
On to Test 4, this is a peripheral vision test. You put your head on to a device, look straight forward and shout out the colors that appear to the left and right of your vision.
Physical exam done. You should be told to go to Floor 4. Go up the stairs and approach the booth on the right, the lady will tell you which room number to go in for the theory video.
You’ll enter a small classroom with a few people, watch a video for what could have been an hour or more, then leave. Half of it is in Thai with no subtitles, the other half has English subtitles and it just talks about the speed limits and common reasons for accidents.
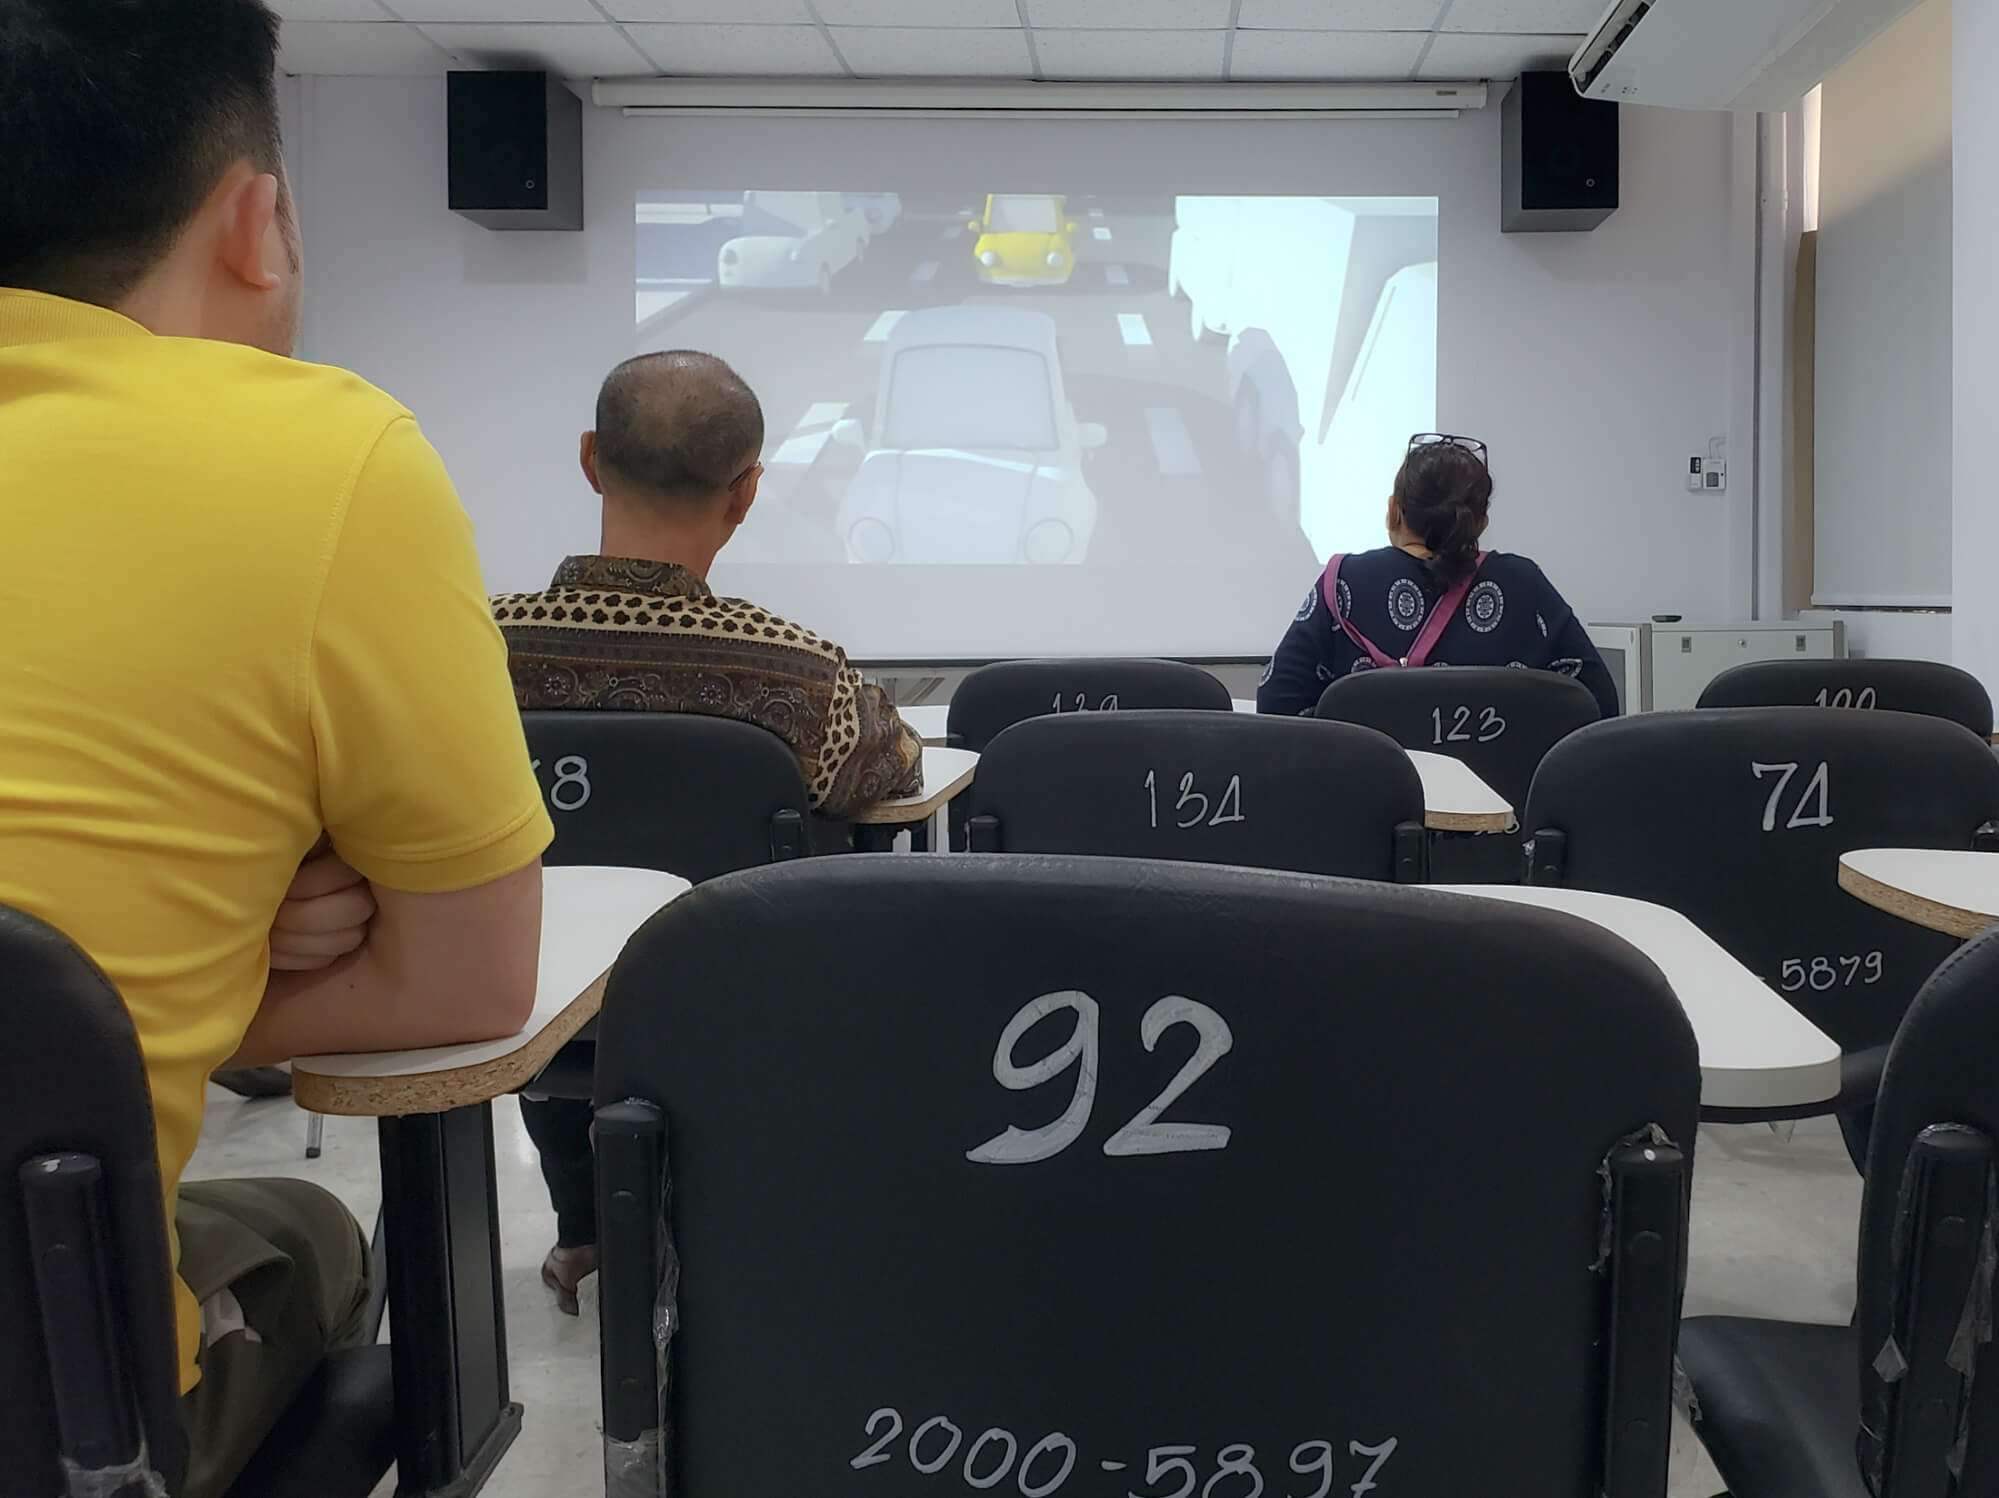
Video room
Getting your licence(s)
After the theory video, you’re sent back down to Floor 2 with another number. When your number is called, go to the booth. He/she will check your documents again, confirm your name and address, take your photo and print your card. This is where you pay. I applied for both car and motorcycle licence at the same time, the cost was 305 baht.
All done!
